AF Measurement
This help explains how AF-project is created and how measurement sequence is performed.Calibrating
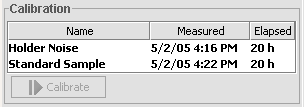
Usually if calibration hasn't been done recently, you need to calibrate. If calibration has been done within 24 hours you don't normally need to calibrate and can jump to next segment. If calibration hasn't been done recently Choose Holder Noise from calibration list. Make sure that sample holder is empty, move it to home with manual controls, if it is not already there to check.
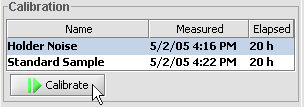
Click Calibrate-button. Wait until measurement is finished

Move sample holder to home. Choose Standard Sample from calibration list. Put standard sample into holder. Click Calibrate-button. Wait until measurement is finished. Move sample holder to home. Take standard sample out of holder.
More about calibration in Calibration.
Creating new AF-project
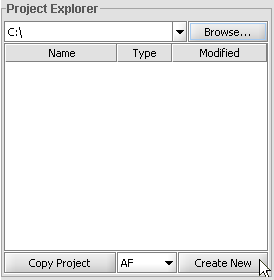
Select AF in drop-down menu as the type for the new project. Click Create New-button. Ikayaki now opens a pop-up window where it asks you to type the name for the new project, once it has been provided, a new project of that name appears to project explorer list and the currently open project changes to it.
More info about project explorer in Project Explorer.
Inserting data
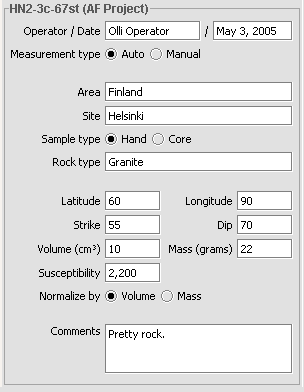
Put into operator-field your name. Date-field is automatically filled, but it can be changed as desired. Choose Auto-radio button. Put into Area-field area from where sample was taken and to Site-field site. Choose Hand or Core -radio button, according to samples type. Write into Rock type-field samples rock type. Write into Latitude and Longitude -fields samples latitude and longitude. Write into Strike and Dip -fields samples strike and dip. Write into Volume and Mass -fields samples volume and mass. Write samples susceptibility into susceptibility field. Choose Volume-radio button. Write any comments you want.
It is not necessary to insert any data on these fields before measuring. Measurements are recalculated after any change to relevant fields in project measurement.
More about project information in Project information.
Adding sequence

Choose correct measurement sequence for sample from drop down menu. Sequence is added to measurement sequence table.
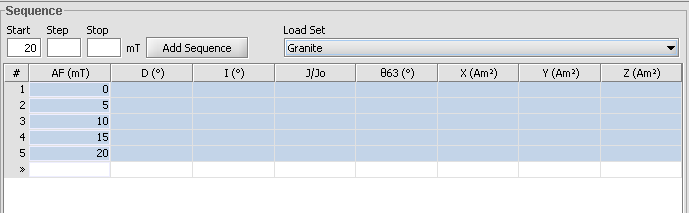
More about measurement sequence in Sequence Panel.
Measuring
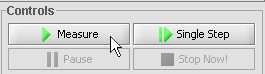
Put sample into sample holder. Click Measure-button. Magnetometer starts measuring and demagnetizing.

Wait until measurement sequence is finished. Move sample holder to home. Take sample out of holder.
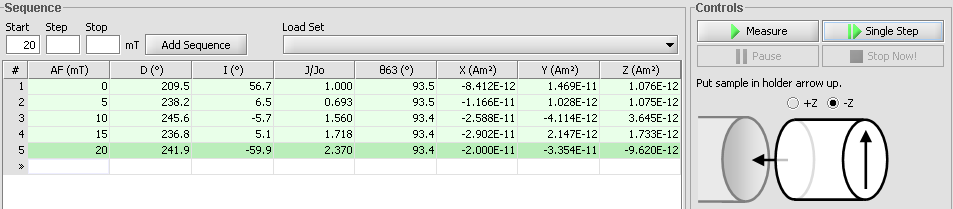
More about measurement controls in Manual Controls.
More about graphs in Graphs.
More about printing in Printing.
More about configuration and options in Configuration.